Overview
GEVME has introduced a new File Privacy feature to improve file upload security and sharing flexibility.
Previously, all uploaded files were automatically treated as private and could only be accessed through authenticated backend sessions. With this enhancement, users can now decide whether uploaded files/photos should be:
- Private - accessible only to authenticated users
- Public - accessible through a direct link without requiring login
** All new File/Picture field created, it is Public by default. Change the setting if needed.
This allows teams to securely protect sensitive files or to make shareable assets easily accessible when needed.
How the Feature Works
Private Files
When the Make File Private checkbox is checked:
- Files can only be accessed by authorized users (valid Gevme backend users).
- Access is restricted in:
Incognito/private browser windows
Different browsers without login
Unauthenticated environments - Ideal for restricted assets such as:
Sensitive documents
Internal reports
Files containing attendee or business information
Public Files
When the Make File Private checkbox is unchecked:
- Files become publicly accessible through a direct URL
- Authentication is not required to open or download the file
- Ideal for externally shareable assets such as:
Brochures
Event banners
Marketing materials
Public documents
How to Set it Up
Navigate to the form where you want to configure file / photos uploads.
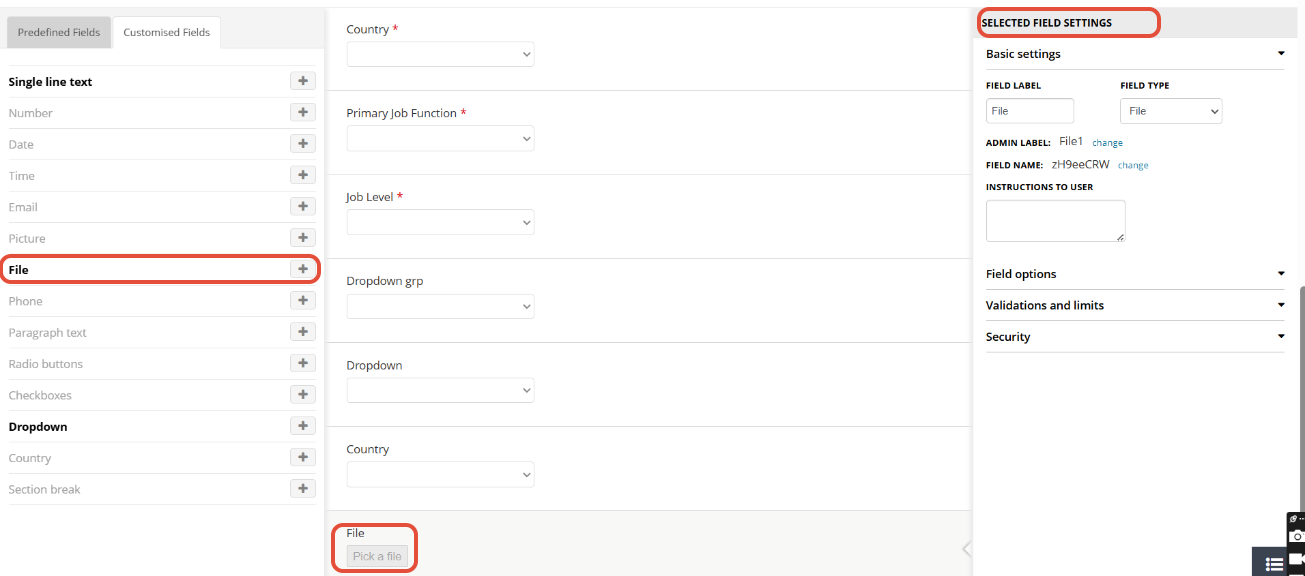
Under Selected File Settings / Security Settings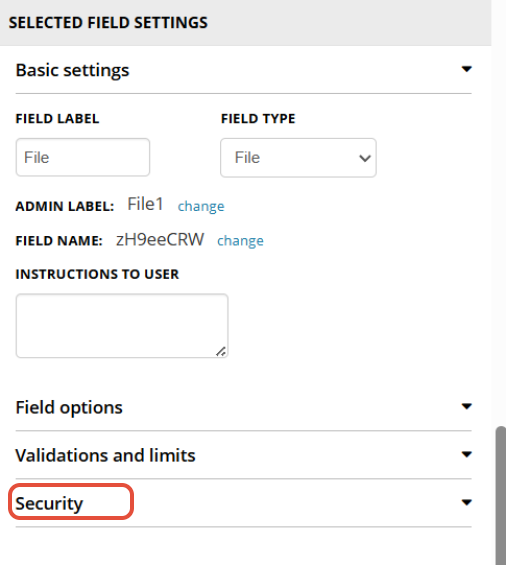
Configure File/Photo Privacy
1. Locate the Make File Private checkbox
2. Choose the desired file accessibility setting:
Checked → Private file access
Unchecked → Public file access
3. Note that the checkbox is unchecked by default, meaning files are Public by default.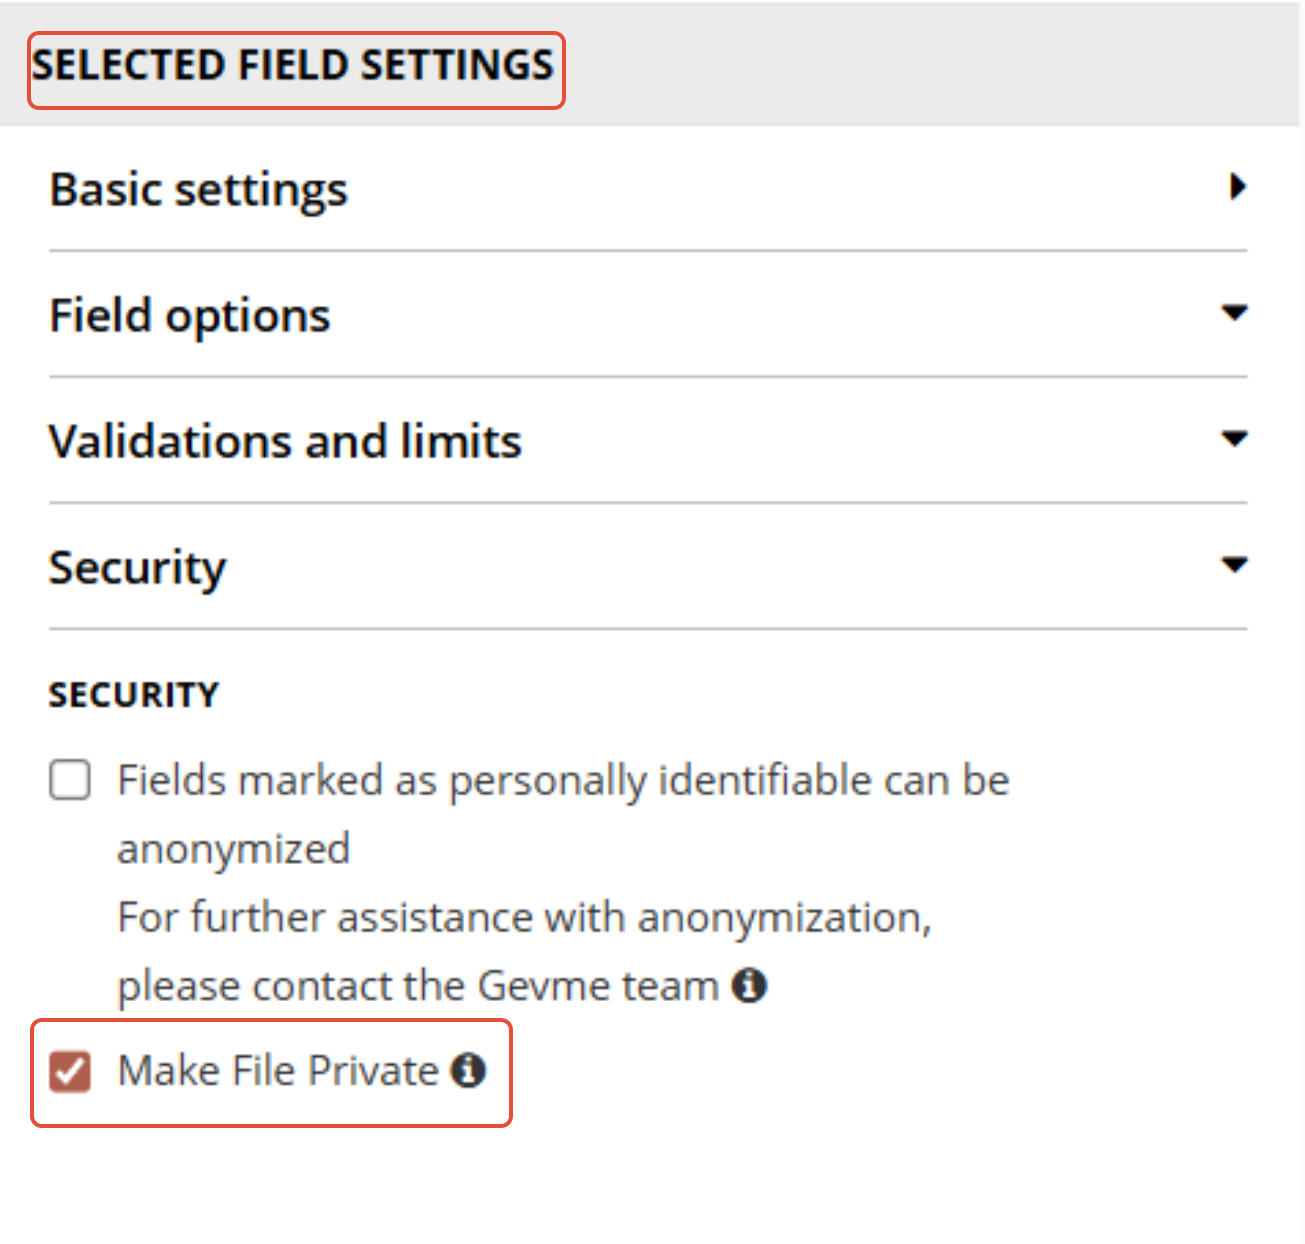
**Review the Tooltip: Hover over the info icon (i) beside the checkbox to review the privacy behavior and accessibility implications.
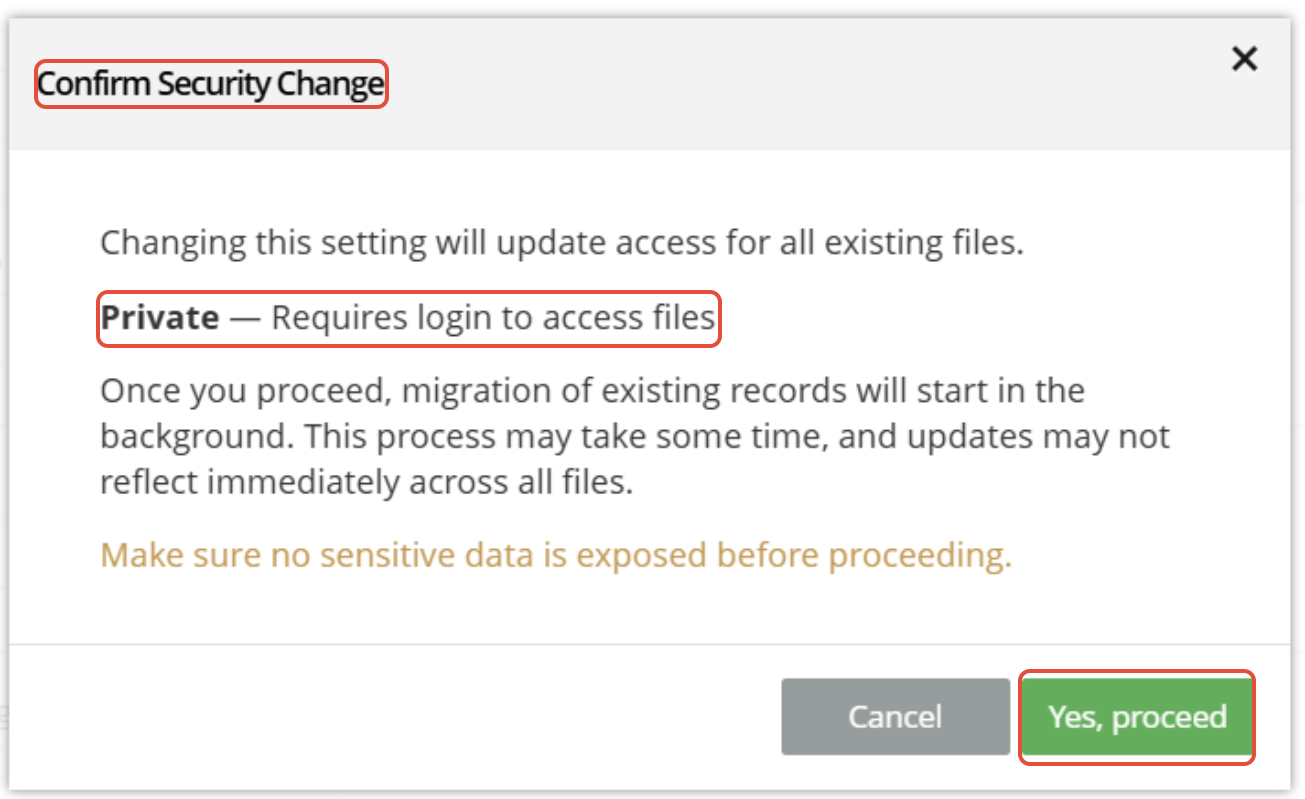
Changes of Security Settings if Files have been added to the Event
If you modify the security setting after files already exist:
1. A confirmation popup will appear
2. Confirming the change will apply the new privacy setting to:
Existing uploaded files
Future uploaded files
3. Cancelling will keep the current privacy configuration unchanged